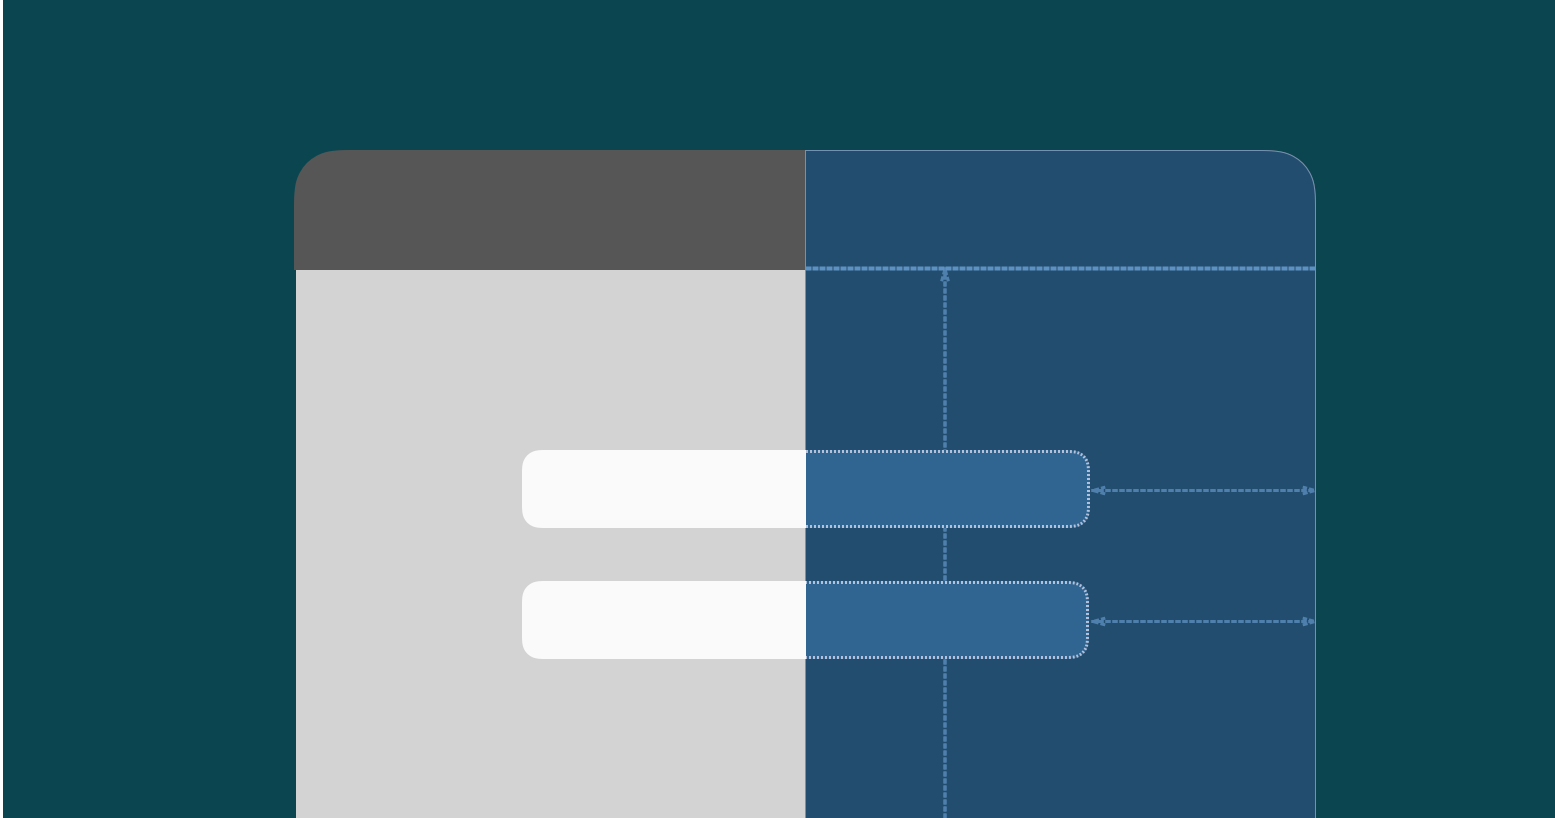
If you’ve ever done more complex layouts in Android development, I’m sure you’re familiar with deeply nested layouts, eventually leading up to something like this:
ConstraintLayout aims to resolve this, where the same view in the hierarchy can be flattened to a single layer of views, giving the same TextView the following hierarchy:
All we need to do to use it is to include the Google repository in module-level build.gradle and add the dependency as follows:
implementation “com.android.support.constraint:constraint-layout:$version”
Now, what can be achieved with ConstraintLayout? Well, a lot, actually! It can do everything a LinearLayout, RelativeLayout and FrameLayout can do – and also a bit more. So let’s try an example:

Believe it or not, this layout is completely flat. It’s a ConstraintLayout containing an ImageView, two TextViews, and a Button, in this order. Let’s assume their IDs are set to image, text, text2, and button, respectively. The ImageView is bound to the top-left corner by using two constraints:
You may have guessed that parent here stands for the parent view. In place of that, we can also use other views that we want to set a constraint too. For example, the centre view is constrained to the centre of the image like this:
The constraint names should be pretty self-explanatory. If you set the size of the view to 0dp in any dimension, the view will try to match the constraints applied to it. This TextView, for example, would match the exact size of the ImageView. If you don’t add a constraint in a specific direction (for example, only adding a bottom one), it will move the view to the present constraint.
This is an example of aligning a view to the bottom of the ImageView.
Another neat thing you can achieve is to set the aspect ratio of a view. We can use layout_constraintDimensionRatio. You can set that to any ratio you like, 16:9 or 1:1 for square views. By default, it will match the dimension that’s set to 0dp to the ratio, but you can make it match width or height simply by prefixing H or V (meaning horizontal or vertical) to a specific dimension.
Another great thing in ConstraintLayout is chains. Let’s say we have a layout like this:
Notice how the bottom of one is aligned to the top of two, and vice versa? This creates a chain. Chaining views like this essentially groups them as if they are sharing a parent view that we could align, resize and move. We can also change the chain style. By default it’s set to spread, which will distribute the views evenly, but we can also set it to spread inside, which will try to make the distances between them as big as possible, equal to each other, or packed, which will minimize the spacing between the buttons.
There are many more things that the ConstaintLayout can do, like biases, guidelines, barriers and so on, but I won’t be covering those here, as there’s a lot to say about those. Instead, I will be going for more fun functionality: animation.
Let’s say you have two layouts you wish to animate between. ConstraintLayouts can simplify this. Let’s say we want to animate between these two:

This animation can be achieved by animating constraints only. How, you ask.
This code clones the constraints in a specific layout and applies them to a different layout. Using TransitionManager, we can create animations similar to those performed by the animateLayoutChanges property. Note that the second layout does not need to contain anything but the views with constraint and ID properties, no need for views that don’t change or any content. Naturally, you can also do the same from code. In place of calling clone, we can simply add them programmatically, via constraintXYZ functions.
In summary, ConstraintLayout allows us to create responsive layouts with fewer views, no nested views, easily setting ratios and aligning them and placing one on top of another. If you want more information you can visit the official docs to learn more:
https://developer.android.com/training/constraint-layout/index.html


